Are you building a new home? Or working on the current foundation of your property? While we recommend working with a skilled team of experts to get the foundation of your home done, you could also revel in the triumph of doing it yourself. To help you on your journey, here’s how you can become a foundation master in six steps.
Step 1: Get Everything Ready on the Site
Before you start digging or pouring concrete, you will first want to pick your site and check out the soil. You need optimal soil conditions to get the foundation laid out. The soil will also help you determine what kind of foundation you need to go with.
After finding the right spot, you will then get the area surveyed. Surveying will help determine and locate the corners of the foundation so you can start the process. From there, you will then want to finalize your schedule and plan as well as gather your team, equipment and supplies.
Step 2: Start Digging
Once you finish measuring and collecting your supplies and equipment, you can start the manual labor of the foundation — digging. There are two forms of foundation — shallow and deep. Shallow foundations are no more than three feet deep. People typically use shallow foundations for small projects like patios or landscaping purposes. Deep foundations are more than three feet and can vary in depth depending on the size of the project. You can do a deep foundation for sheds, detached garages and houses.
Step 3: Work on the Concrete
One of the most important parts of becoming a foundation master is understanding how to make and pour concrete. The first step you will take is to create concrete. Follow the instructions that come with the concrete you purchase. In general, you will need a mask, work gloves, safety glasses, a wheel barrel, and a mixing stick to get the job done.
Next, you will pour the concrete into your form. You will use a trowel to level out the wet concrete to make everything smooth and even. You can also make grooves with your trowel to create a non-slippery surface.
After pouring and leveling the concrete, you will let the concrete dry. It will take at least 24 hours. Once it finishes drying, you will remove the footings. You need to keep the foundation wet to avoid cracks, so soak it with water at least two or three times a day. If it rains, place a tarp over the area.
Step 4: Treat the Foundation Walls
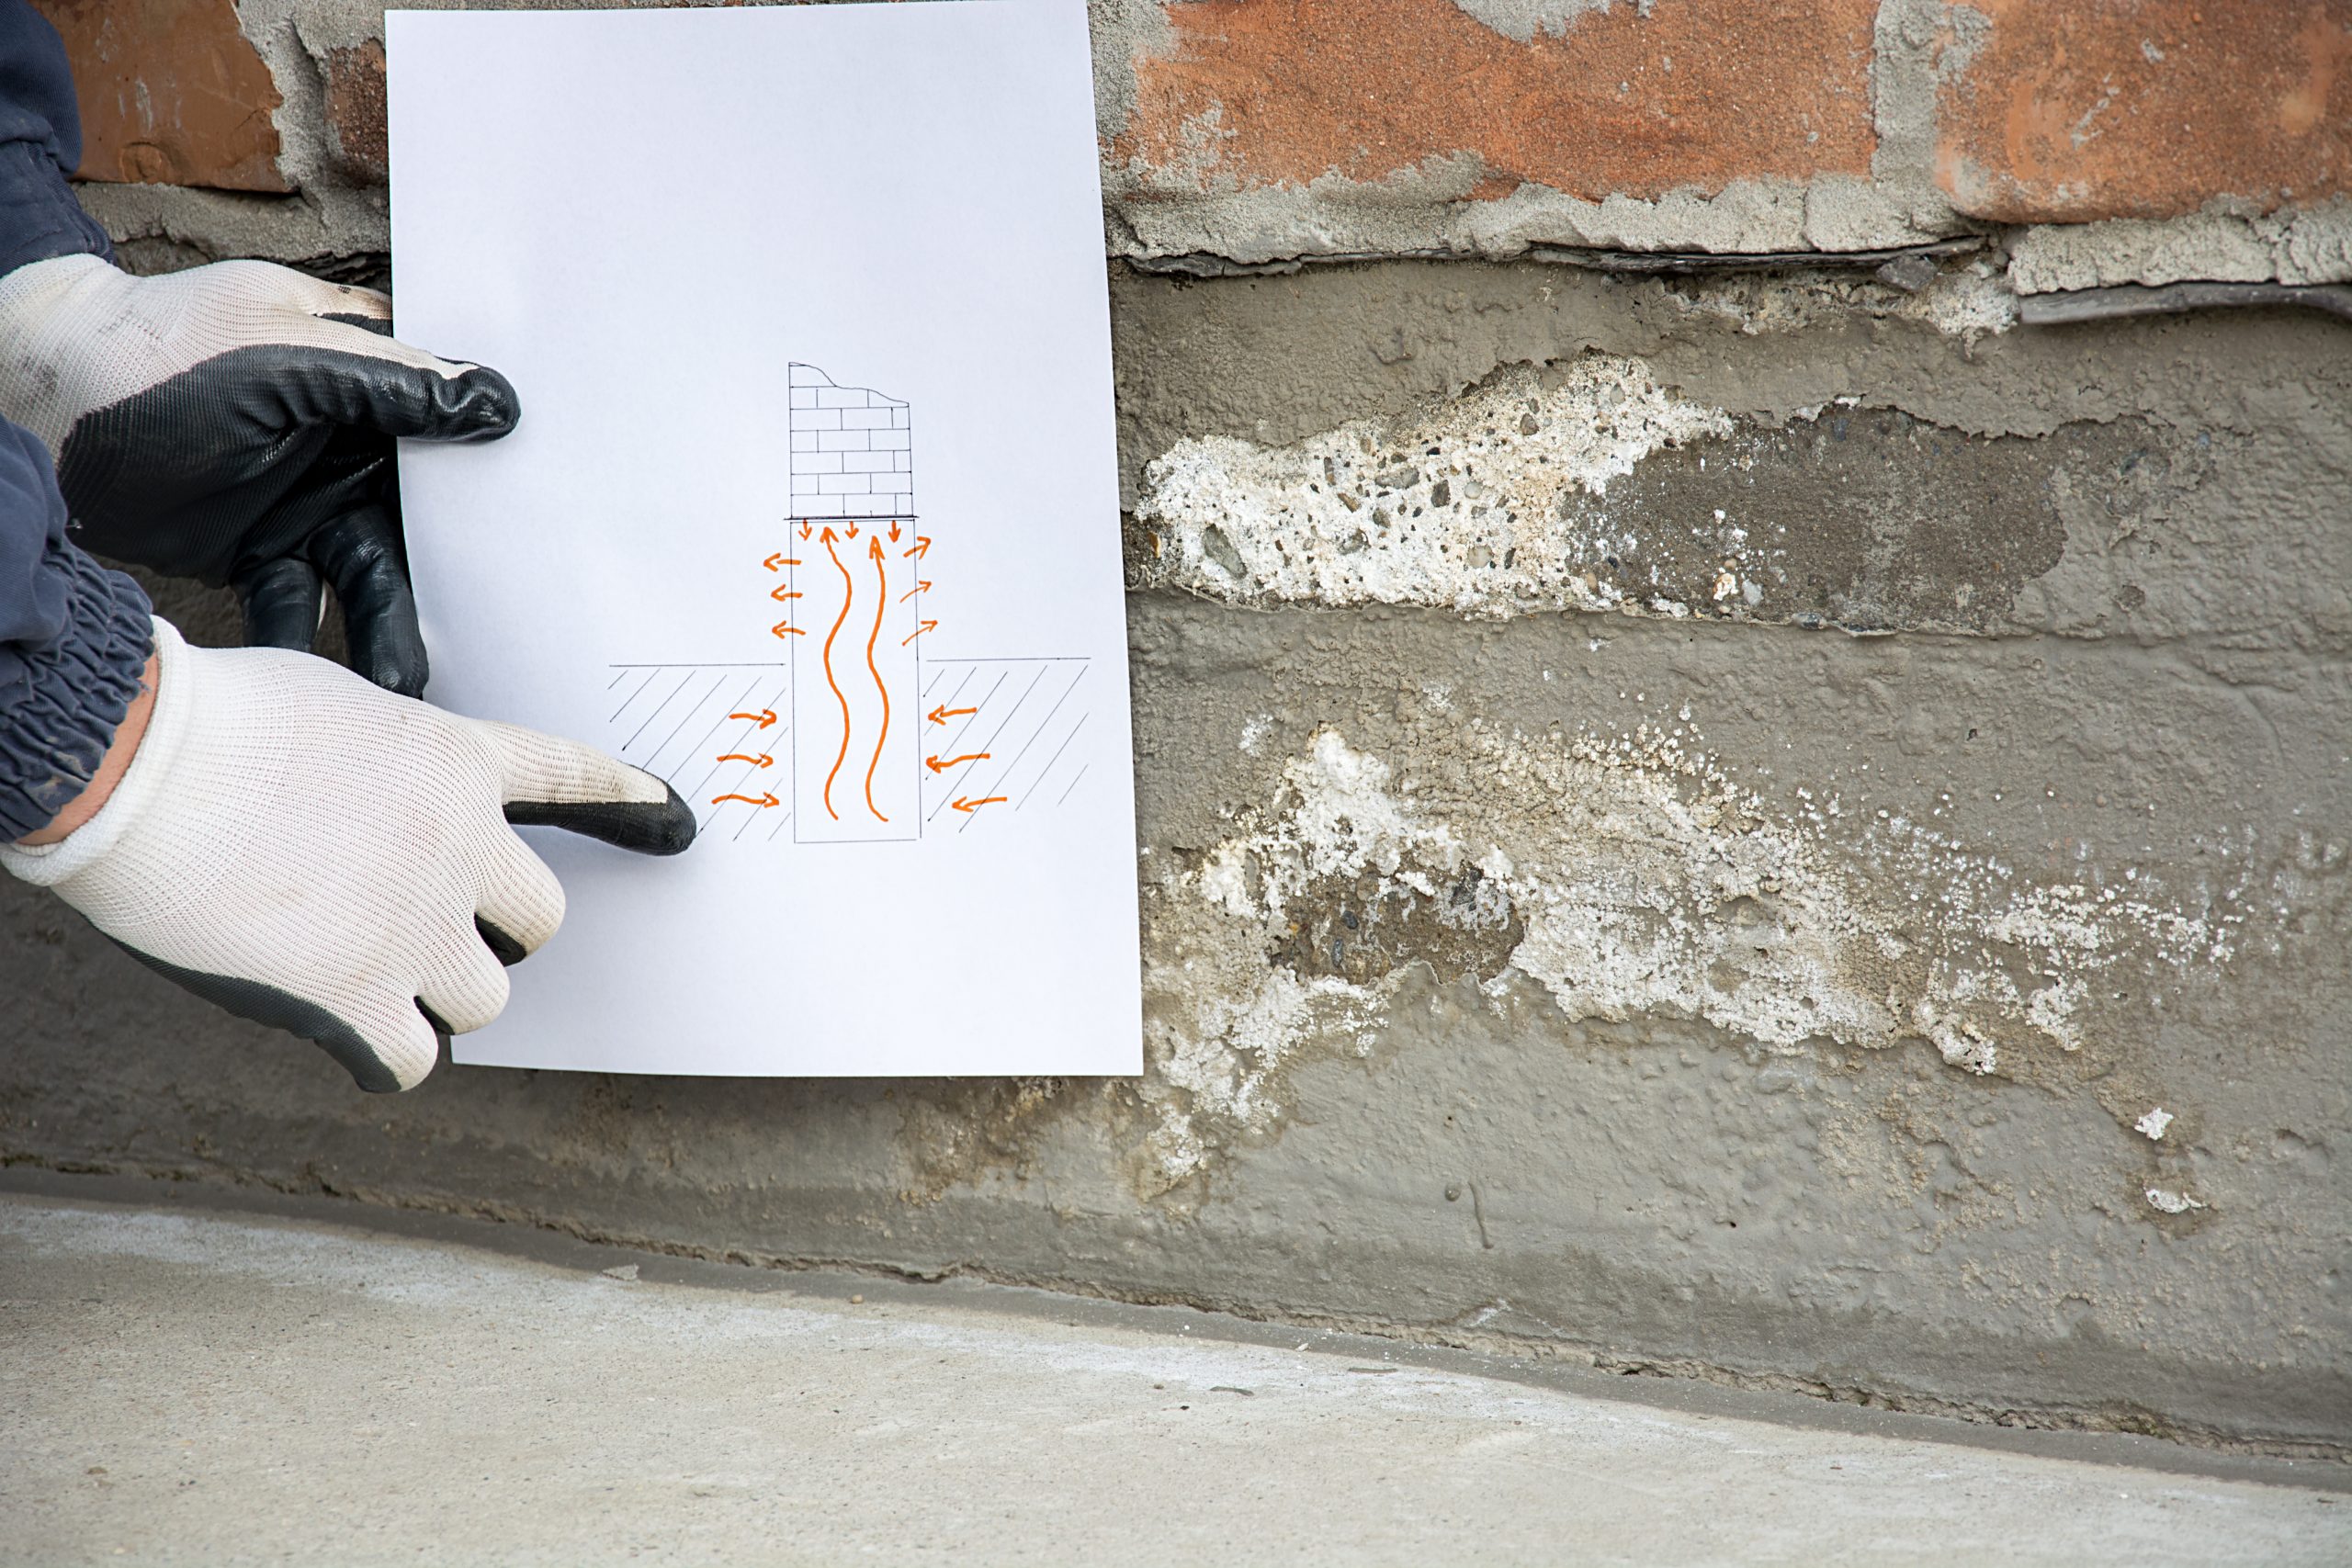
Once the foundation is dry, you need to treat it. If not treated, moisture can enter your concrete and cause it to split over time. Split concrete damages your foundation, even to the point of damaging your home. To avoid this, people place a round of sealer. You can use an acrylic-based sealant immediately after the concrete finishes drying. The best thing about an acrylic-based sealant is that it works as both a sealer and a curing compound.
Step 5: Start Building
Now that you have finished everything with the concrete, you will do your final walkthrough and testing to make sure the concrete is set in place and safe. Once everything passes, then you can move on to the fun part — building. As a note, the foundation of a building is typically the most tedious and time-consuming part of the construction. Once you get past it, you can finish the rest of the project in a few months.
By following these six steps, you will become a foundation master. However, don’t worry if you do not have the skills or expertise to get this task done. Instead, rely on the foundation masters, Ray Arnold Masonry and General Contracting. We are here to help with any of your home building needs — including basement construction. For more information or to get a quote today, give us a call.