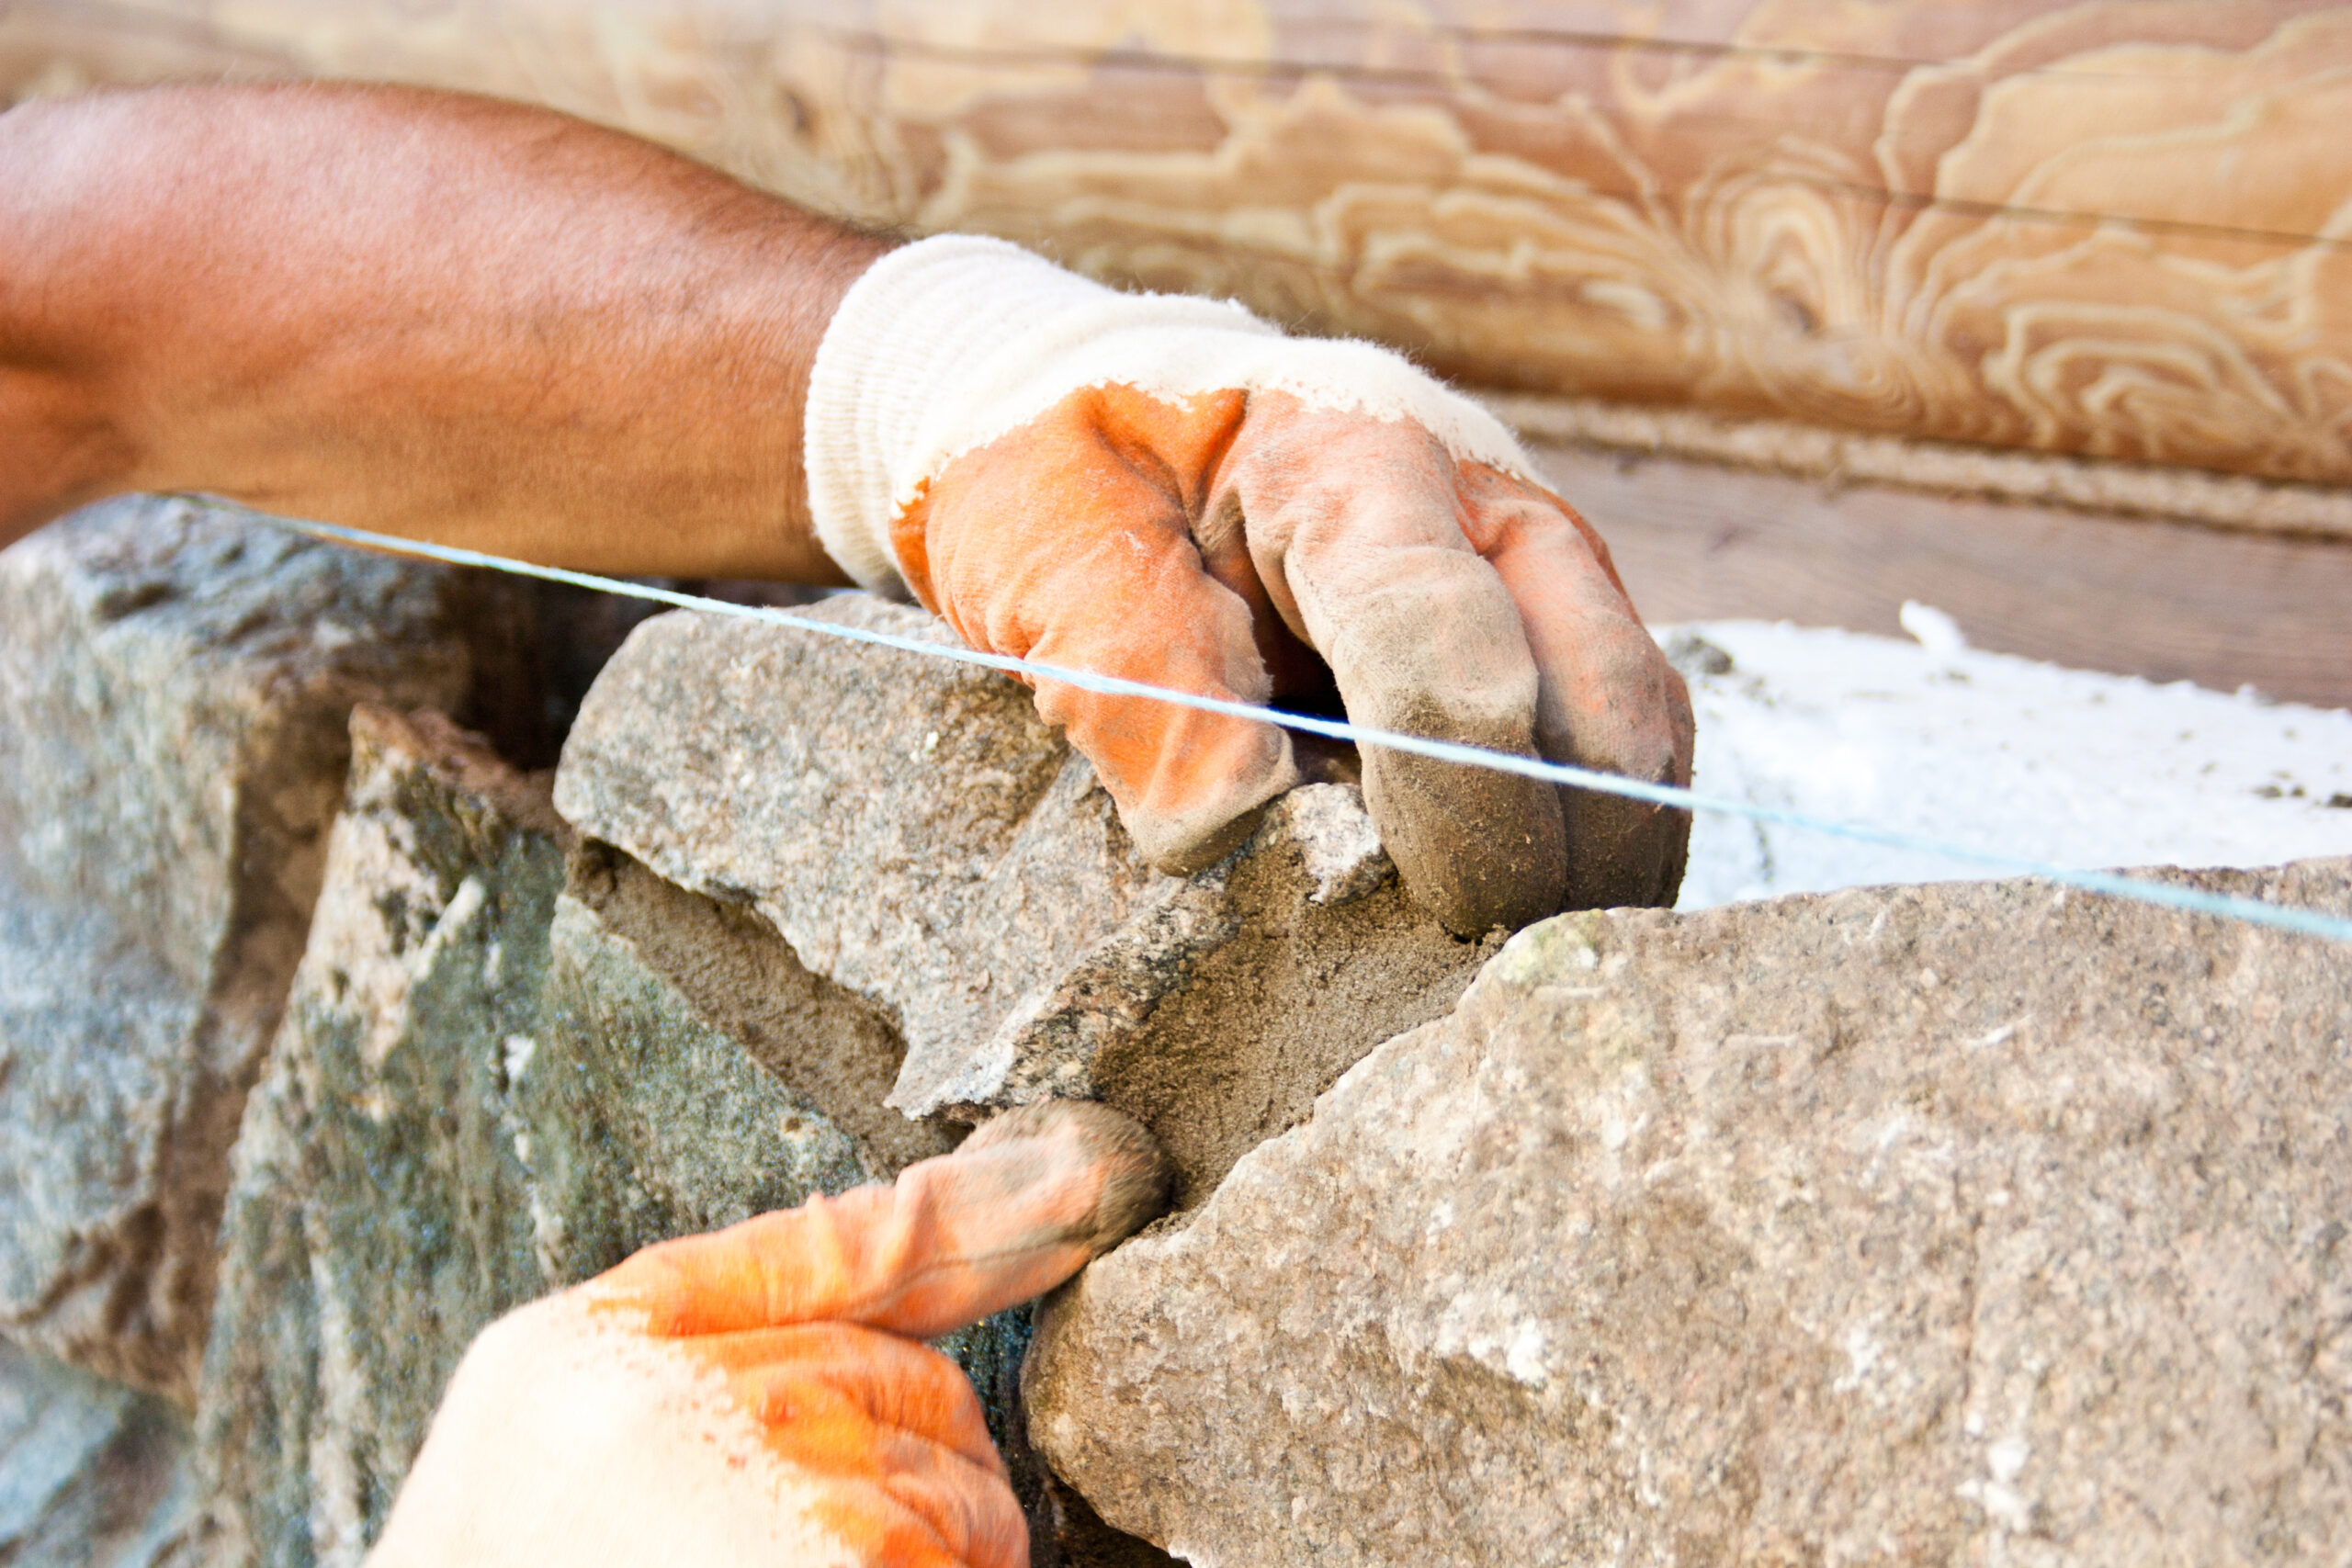
If your home has stonework inside or outside, then you know the beautiful aesthetic it can add to a home. But, you also know that once it begins cracking or crumbling apart, it can be a headache to learn how to fix, especially if you’ve never done it before.
Keeping your stonework beautiful and preserved keeps your home looking lovely, and safe from the outside elements. Read on to learn five hacks to masonry stone installation.
One: Cutting Wire Lath with Ease
Like most types of wire, wire lath can be difficult to handle and is also sharp. Cutting it without harming yourself can be a challenge. The easier that you can handle the wire lath, the less likely you are to cut yourself on its sharp edges.
To make a longer cut, set the wire lath on long wooden boards. Then, measure the edge of the lath to the edge of the board for each side to keep them aligned with each other. Fasten the lath to the board with staples. Then use the edge of the board to guide the cut.
When working with this material, be sure to wear safety equipment such as eye protection, gloves and long sleeves. Use the right tools to cut wire laths, such as tin snips, power metal shears or a diamond blade. Before cutting, bend the wire lath around the inside corners. When installing it, check that it is rough when you run your hand upwards against it and that it feels smooth when you run your hand down it.
Two: Applying Stone Like a Pro
Applying stone is not as difficult as one may imagine. First, run a trowel across the back of the stone in order to create a bond between it and the mortar. Then place mortar on the trowel, then around the perimeter of the stone. When putting the mortar on the stone, place about a half-inch layer. The middle of the stone will act as a suction which will keep the stone in place as the mortar dries.
If extra mortar leaks out around the edges of the stone, simply knock the excess off with a trowel. This will prevent anything from getting in the way of the grout. To make sure that the stones attach to the mortar, scratch or groove the wet mortar first before placing the stones on top. You can do this with a small rake-like tool, or you can purchase a tile mastic trowel. Drag this tool across the wet mortar and stripes will appear.
Three: Consistent Mortar Joints
A mortar joint, the space between the stones, is essential to the entirety of the finished project. If a mortar joint is bad from being dry-stacked, raked-back or has too much grout then it will make the entire project look sloppy.
It is important to make sure that the joints are consistent in size to create a lovely finished look. Keep in mind that there are several different types of mortar joints, such as raked, flush, overgrout or dry-stacked.
Four: Filling in the Grout Properly
When it comes to adding the grout, make sure to cut a slit in the grout bag. These bags come with either a metal or plastic tip for pouring, but cutting a small slit will create a looser flow. It’s all too easy for the grout mixture to become difficult to pour. You have to make sure that it is loose enough to allow a constant flow without having to squeeze the bag.
As you are filling in the grout, be sure to fill it in completely. If the grout joints are hollow, they will very likely come out of place later on. To fill the grout properly, insert the tip deep into the joints so that they fill from front to back of the stone. After using the grout bag three consecutive times, make sure to clean it to prevent dried, caked-on grout.
Five: Cleaning Manufactured Stones
The best way to clean manufactured stones is to wash them with mild soap and water using a wire brush. If this is not enough, try mixing one part vinegar with eight parts water. Before putting the vinegar mixture on the stones, dampen them with water. Then use a plastic or brass brush (never steel for this type of work) to clean. After washing, rinse down with water. If the stone is moldy, it is safe to power wash or use a mixture of bleach and water. Before cleaning with bleach, test on a smaller area to make sure that the color will not run.
Repairing masonry is not an impossible task to do on your own, but if you are looking for help from the experts, check out Ray Arnold Masonry. For more information on masonry tips, check out our blog. If you are in need of masonry repairs or are interested in having masonry work done around your home, contact us at Ray Arnold Masonry today!

